Cake Balls
Posted in Baking, Holiday, Parties on 11/18/2011 05:59 pm by ChrissyCake Balls
")
Cake balls seem to be so popular right now and I know why…they are so fun to eat. If you want to make these tasty treats make sure you have a few hours to spare. These are so fun for kids, parties, and any holiday. Here is how I make them, and I hope you will give them a try.
Materials:
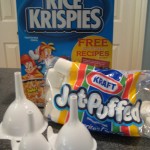
Boxed cake mix
Canned frosting
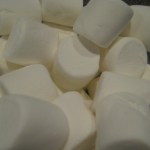
Chocolate bark
Glass bowl
Parchment paper
Cookie Sheet
Optional:
Chocolate Dipping Tools, Scoop (for melon or cookie dough)
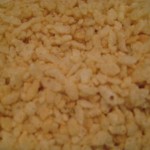
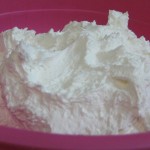
- Bake the cake according to the directions on the box. Let cool and crumble in large bowl.
- Mix ¾ of the canned frosting into the cake crumbles. If you like really gooey cake balls you can add the whole can. Use a spatula or just get your hands in there and mix it up well. Place in the refrigerator for an hour to set.
- Take cake mixture and roll into a 2 tablespoon sized ball. I highly recommend using a stainless steel scoop to make this part go faster. Place the cake ball onto a parchment paper lined cookie sheet. Make sure the cookie sheet can fit into the refrigerator. Let sit over night or you can put them in the freezer for 2 hours.
- Once the cake balls have set, place the chocolate bark in the glass bowl and microwave for 30 second intervals until melted.   I suggest having a second cookie sheet lined with parchment paper ready to place the chocolate covered cake balls on.

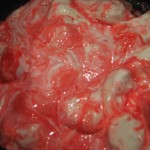
- Drop a cold cake ball into the chocolate and roll around with two forks or use the dipping tools. Once the cake ball is covered, tap the fork on the side of the bowl to smooth out the chocolate and let the excess drip off. Place on parchment paper and add topping if desired. Don’t wait too long to decorate or the chocolate will harden.
- Place in the refrigerator for 30 minutes to harden chocolate.
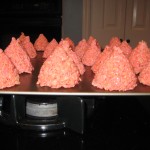
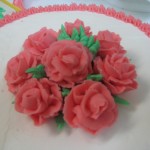
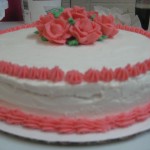
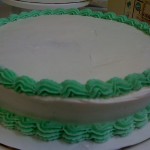
- Make sure to display in a fun and cute way. Enjoy.

Here are some yummy flavor combinations:
- Red Velvet Cake & Cream Cheese Frosting
- German Chocolate Cake & Pecan Coconut Frosting (top with coconut)
- Carrot Cake & Cream Cheese Frosting (chop nuts and add into frosting/cake mixture)
- Orange Cake & Butter Cream Frosting (tastes like a creamsicle bar)
- Triple Chocolate: Chocolate Cake & Chocolate Frosting topped with mini chocolate chips
")